


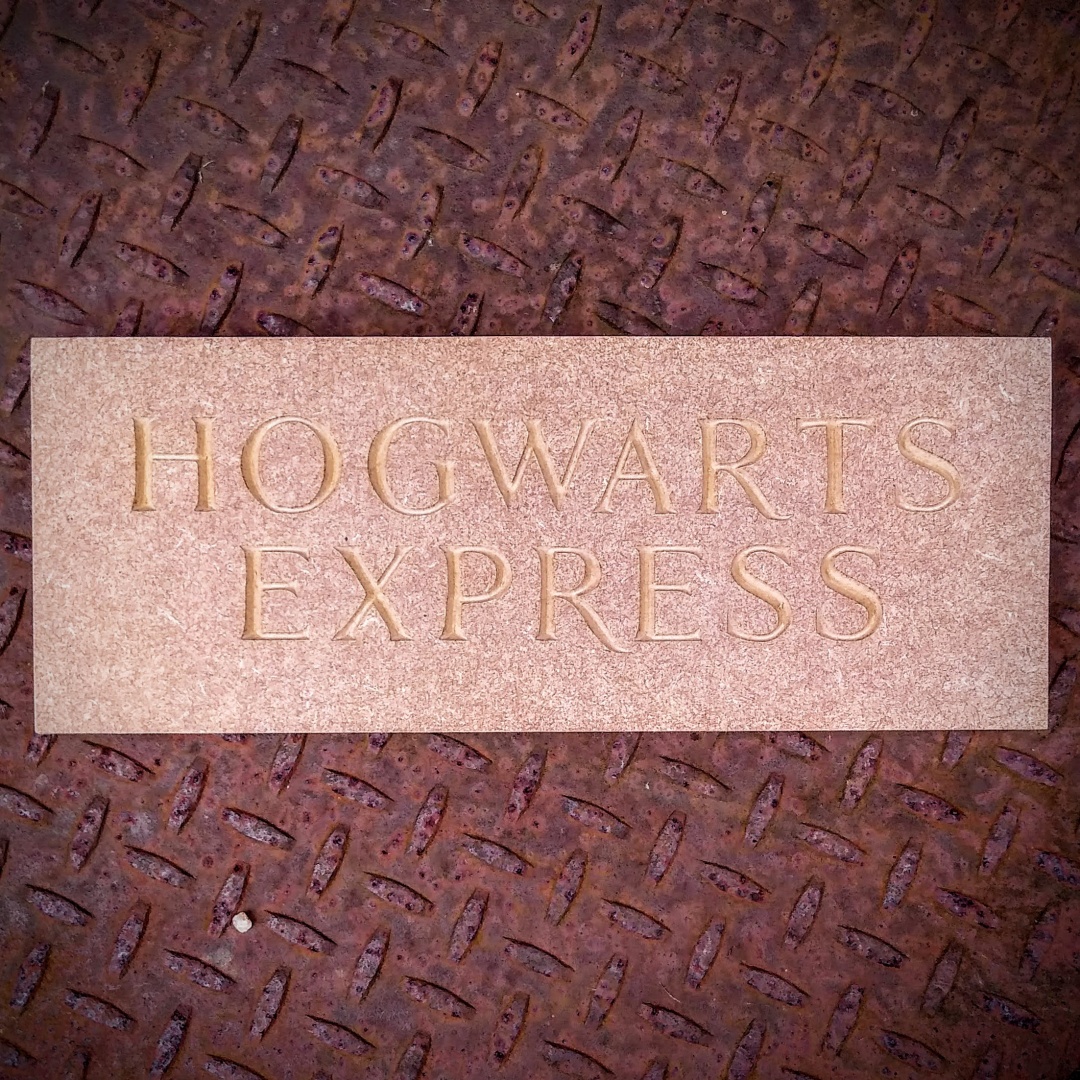
Ever wanted to use your Minimillr CNC router for making signs? This is a V carving wooden sign project I made recently while trying out F-Engrave software. It’s a great piece of free software that can is not just for V-carving, but also engraving and a whole lot more. You can download the DXF and SVG for the project here.
Custom wooden signs are a great product to make on a CNC router and can be great sellers online as well as craft fairs.
The artwork was originally created in Inkscape, so if you want to make any edits or additions; like adding Platform 93/4 then then open the SVG file and make your changes. Make sure to export to DXF as that is the best format for F-Engrave.

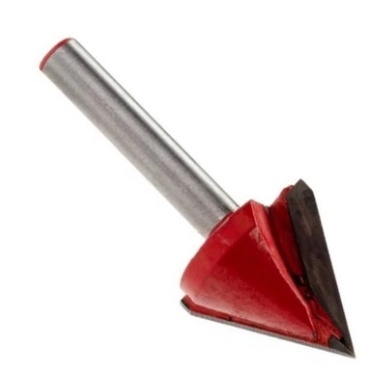
For this project I an using the Minimillr 4015PRO router/mill. The cutter is 60 degree twin flute router bit, max width of cut is 16mm with 6mm shaft like this one available from Rennie Tools.
The stock material is regular 18mm MDF which is easy to cut and gives a good finish with a quick rub of fine grit sandpaper to get rid of any fuzzies. I haven’t painted or sealed the MFD first as this was more of a demonstration of what is possible F-Engrave on the 4015PRO.
First download and install F Engrave software. When you run it for the first time, go to Settings>General Settings and make sure the units are set to your preference. I use millimetres, but you can use inches if you wish. The rest of the settings can be left along for now.

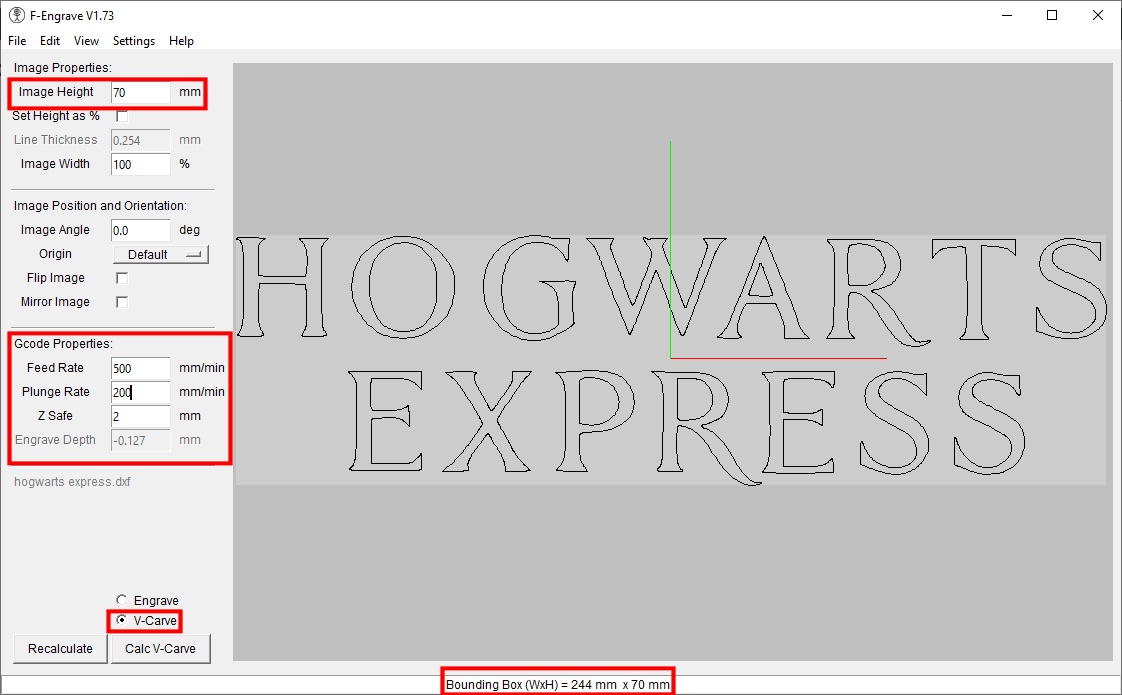
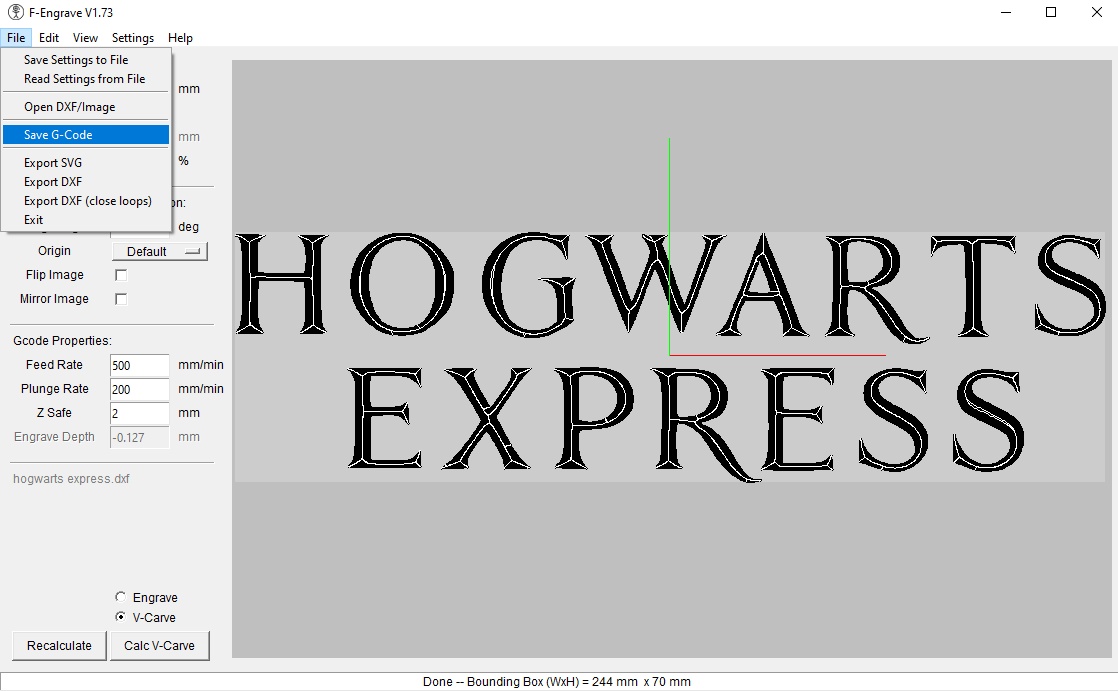
Now load the Hogwarts Express DXF file by clicking File>Open DXF/Image. Once loaded the preview window should look like the image below.
Setting the Carved Text Height and Width
Set the overall height of the text in the Image Height box, in this case it is set to 70mm. The width is automatically calculated to be 244mm wide. Set the height to match the size of your blank.
The origin of the image is at the centre of the text which means that no matter what your stock size, as long as you set your machine origin at the top centre of your blank it will carve fine.
Feed Rates
Set the feed rates in the Gcode Properties section. Set the feed rate to 500mm/min and the Plunge rate to 200mm/min. You can probably go quicker but these will ensure a good result.
An important value that can really affect carve times is the Z Safe setting. This is the clearance allowed between the bit and the workpiece. Keeping this low means much faster carve times. Set it to 2mm as long as your blank is relatively flat this should be fine. I use double sided carpet tape to hold down blanks like this and it works very well.
Make sure the V-Carve checkbox is ticked so VCarve mode is enabled.
V Carve Settings
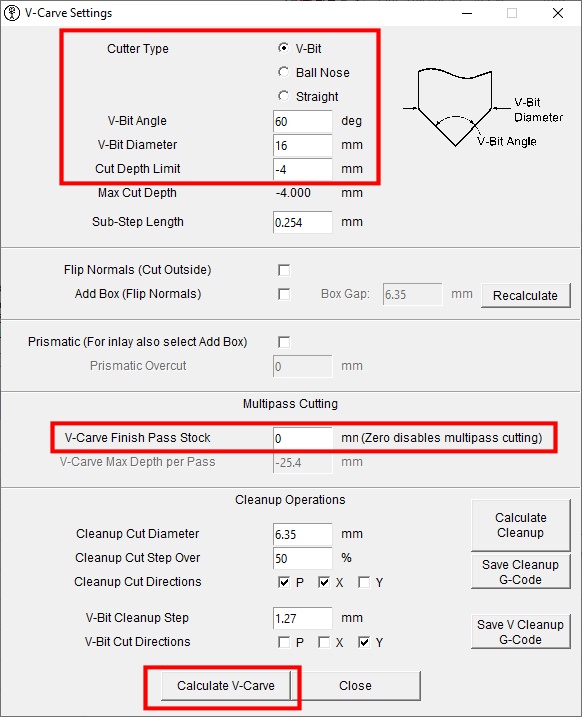
In the Settings>V Carve Settings Window and set the parameters for the cutting tool (60 degrees, 16mm diameter in this case). Make sure the Cut Depth Limit is not too much for the machine. In this case it is set to -4mm which means the max cut depth will be 4mm into the material. Setting this too high for your machine can result in missed steps or poor cut finish. If you are cutting a hardwood then reduce the max cut depth to -2mm, and it will achieve the same result but in 2 passes.
A useful parameter is the V-Carve Finish Pass Stock setting. If this is 0mm then there is no finishing pass, but if you set it to say 0.25mm, it will do a finishing pass to clean up the bottom and edges of the carved channel saving a lot of hand finishing to get rid of fuzzies.
Finally click the Calculate V-Carve button. It will fake a few seconds to work out the paths, so don’t panic if the screen seems to freeze. Once finished, you should see a 2D simulation of the carve like the screenshot below. Save the GCode to a file. You can also download the GCode here as well if you want an exact copy.
F-Engrave also has the option to save settings to a file which is useful once you have dialed in settings that work best for your CNC router machine.
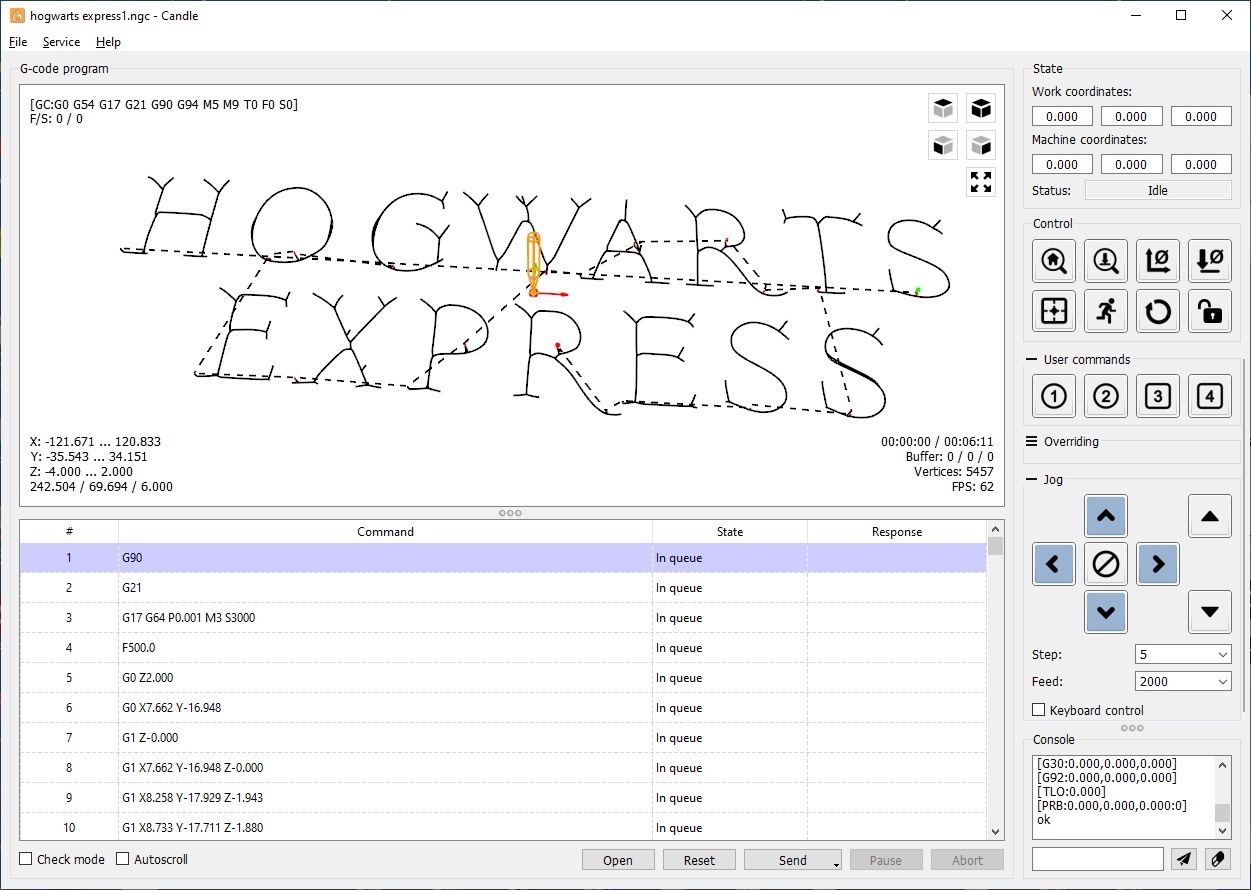
CNC Router Control Software
I use Candle for machine control but Universal GCode Sender Platform is also very good.
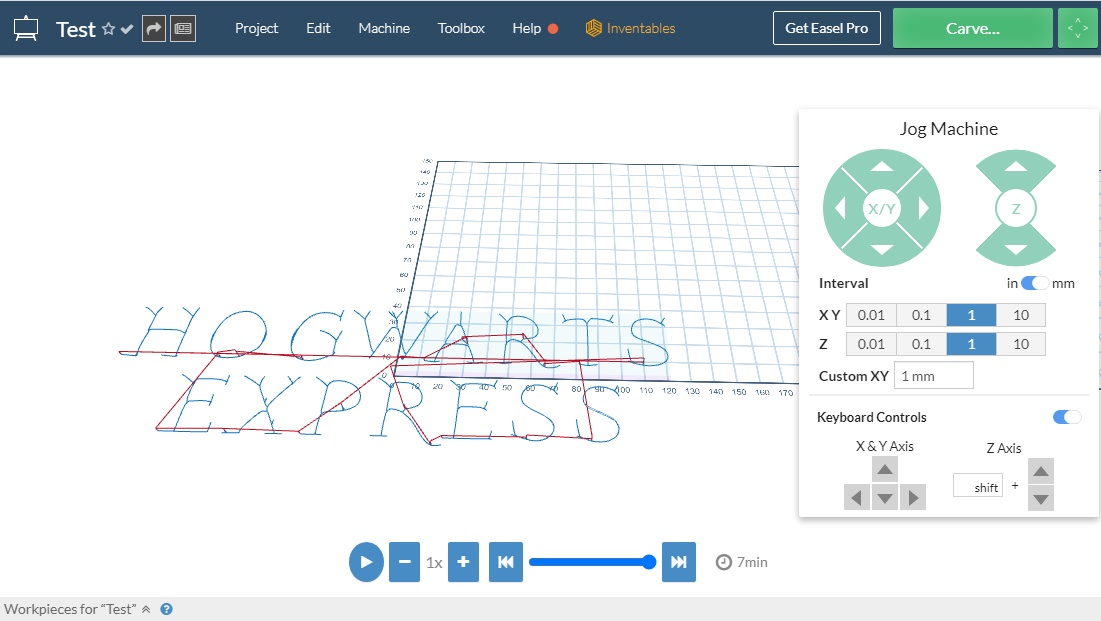
Using Easel to Stream GCode
You can also use Easel to stream gcode for Minimillr CNC machines as well, but I did not test it on this job. Usually Easel is better dealing with gcode it generates itself. You will need to remove line 3 from the GCode using a text editor in order for it to load in Easel, or else you will see an error.
Once you are ready to go, do the usual steps of fixing the workpiece, jogging and setting the bit to the home position at the centre-top of the workpiece. Put on your safety gear, start the spindle and click Send to start the job. Candle calculated a job run time of under under 7 minutes, so that is not bad at all for batch production. MDF is fairly soft, but if the wood is harder then slow down the feed rate or take multiple passes.
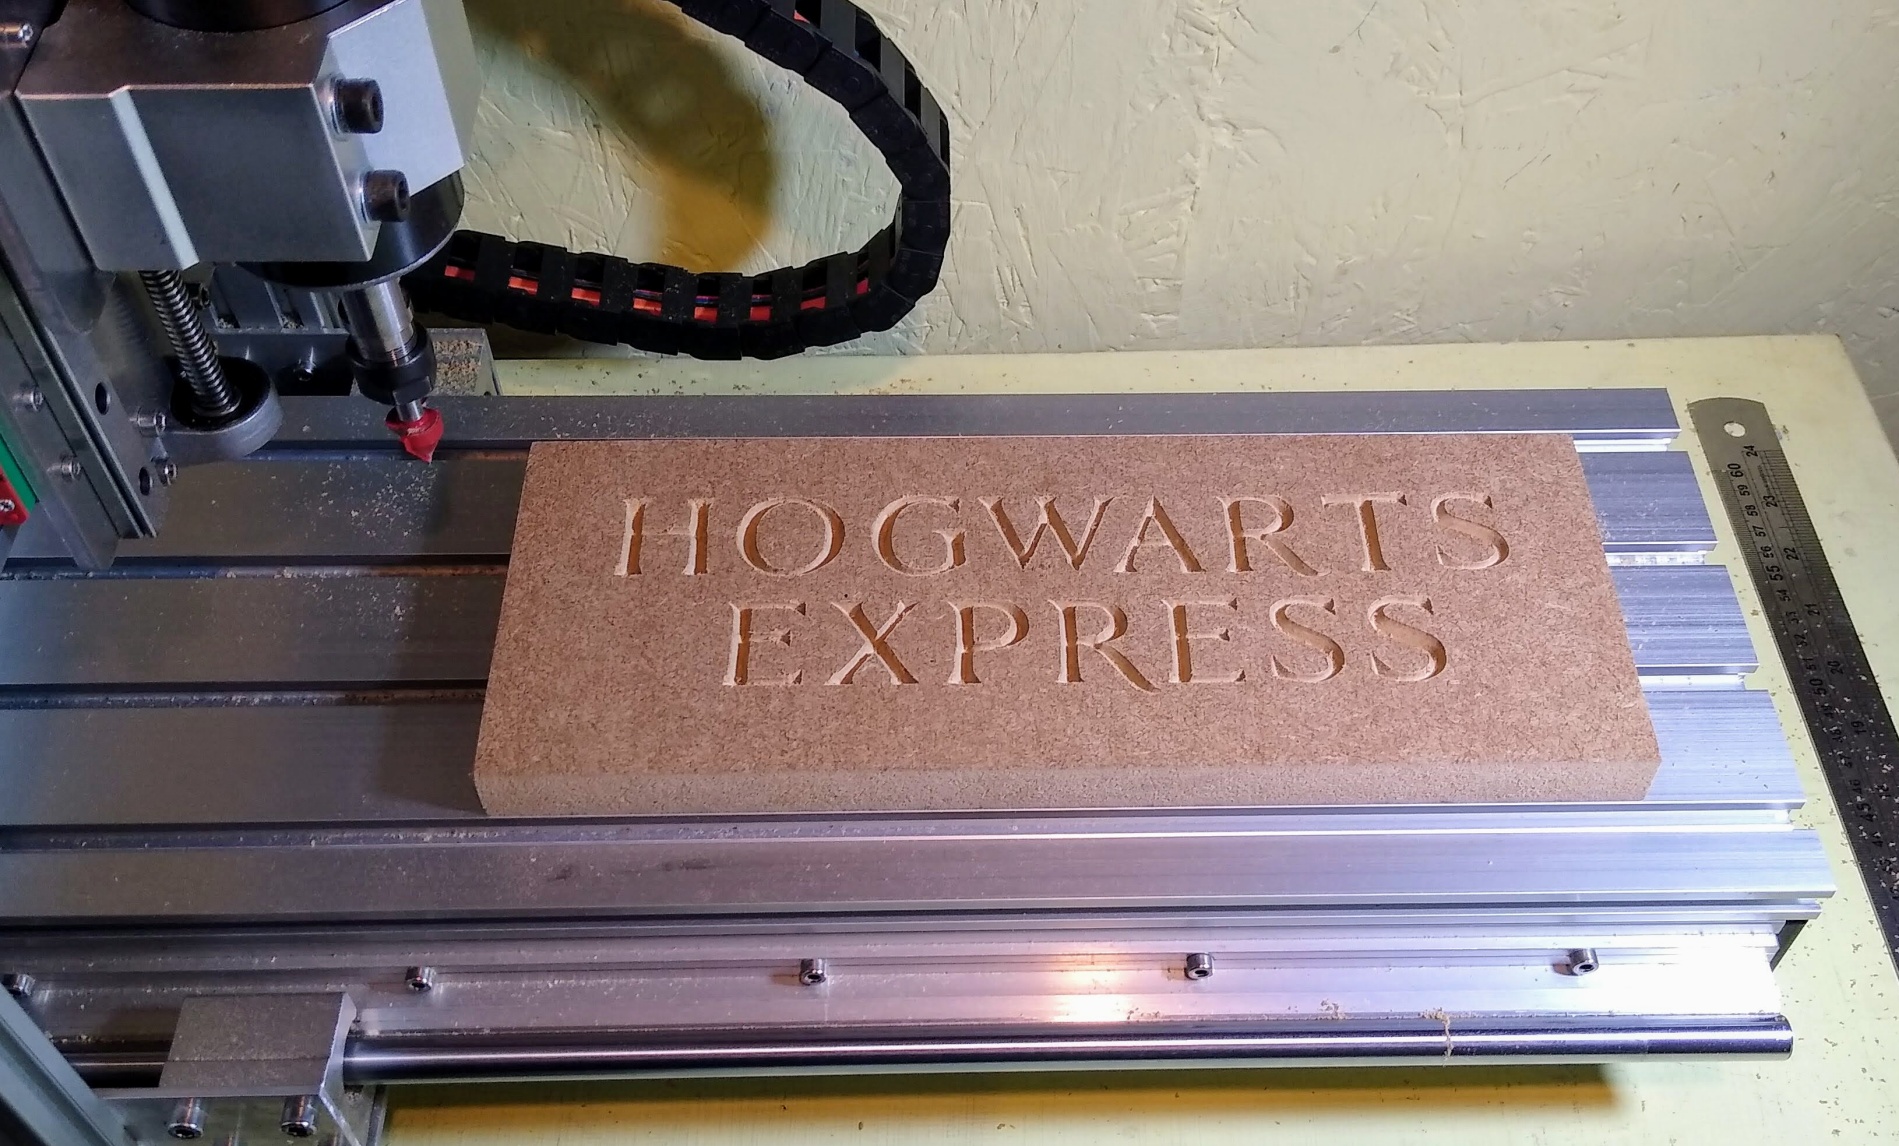
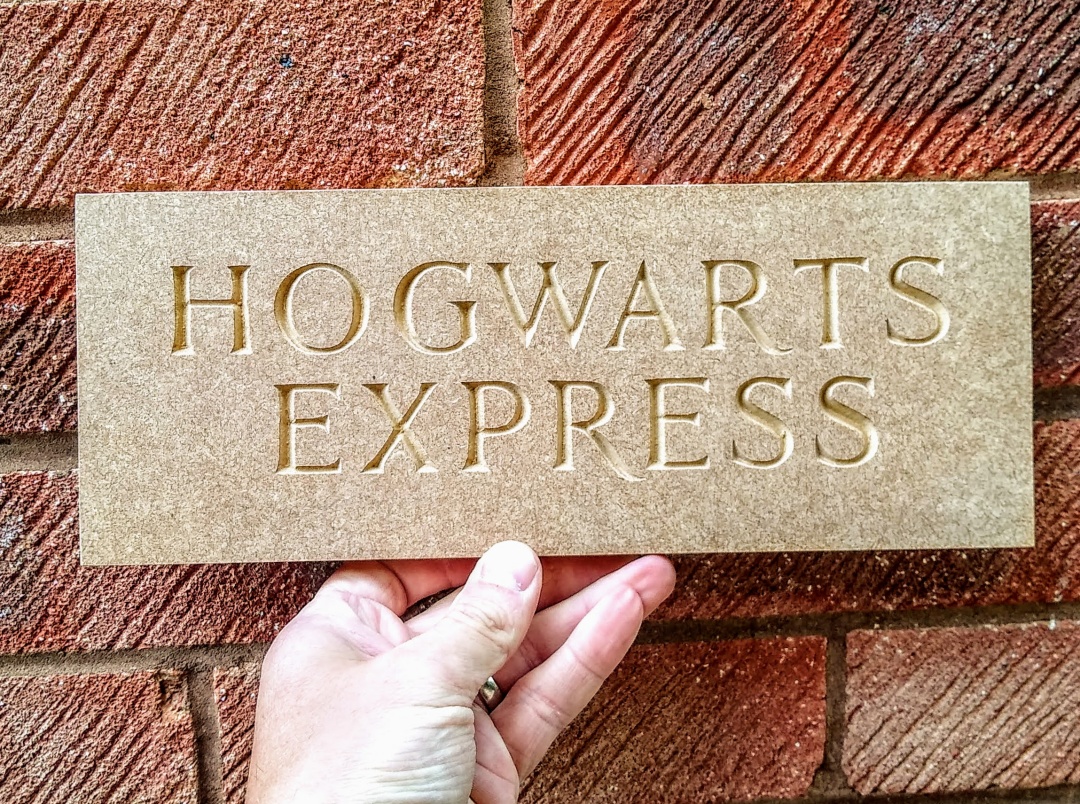
Once finished a small rub of fine sandpaper will get rid of any fuzzy edges, and its all ready for painting!
Want to find out more about Minimillr CNC Routers and Mills? Please contact us to and find out more, or download the 4015PRO or 6045PRO brochures.